Instructions for fishing with an autohook
To understand what a feeder self-cutter is, you need to understand its structure, operating principle and types. The device is auxiliary when fishing with a feeder and does not represent a full-fledged self-hooking tackle.
Self-cutting device for feeder
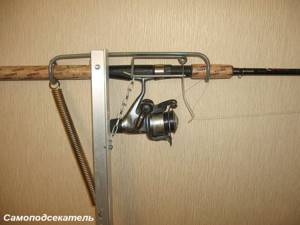
A classic automatic feeder cutter - homemade or factory-made - consists of the following main elements:
- Support post - serves to fasten the self-cutting device in the soil of the bank;
- Rocker arms - designed to fix the rod handle;
- Springs - when there is a bite and the trigger mechanism is activated, under the influence of elastic force, it gives the feeder itself a jerky upward movement - a hook;
- Trigger mechanism - designed to trigger the spring-loaded rocker arm at a certain tension of the fishing line by the fish.
Such an automatic hook hook for fishing, when properly configured, virtually eliminates idle triggering and ensures the maximum number of productive hooks. In addition to fishing stores, you can purchase it on various Internet portals.
In addition to store-bought self-cutters for feeders, homemade ones have recently become widespread. They are in no way inferior to, and sometimes even superior to, their factory counterparts. There are plenty of videos and drawings on the Internet that make the process of creating a device easier.
How does it work
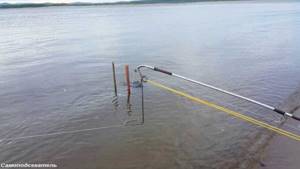
The self-cutter works as follows:
- The feeder with baited equipment is thrown to the fishing point;
- The rocker arm is installed perpendicular to the rack and fixed by the trigger mechanism;
- The rod is inserted into the rocker brackets, the slack of the fishing line is wound up;
- The fishing line or cord from the reel is wound behind the hook of the trigger mechanism;
- When biting, the fishing line pulls the lever, the trigger mechanism releases the rocker arm, and it rises sharply upward under the action of the tension force of the spring.
A simple hook for bottom tackle

Greetings to all homemade anglers. Today we will make a simple self-cutting device for donkey. The main advantage of this design is its ease of manufacture; it can be made from available materials with a minimum set of tools. Disadvantages include the dimensions and the need to level the area on the shore of the reservoir for its installation. This design has already been tested and proven to work. Some may think that the spring is too powerful and the lever operates very sharply, but this is not so. In real fishing conditions, when the tackle is thrown into the water, hooking looks completely different than in the workshop. It even seems like the power needs to be increased.
1. Vise. 2. Hammer. 3. Pliers. 4. Screwdriver. 5. Hacksaw for metal. 6. Wood saw (if necessary). 7. Drill and drill bits (optional). 8. Roulette.
1. Board. 2. Steel spring wire with a diameter of 4-5 mm. 3. Bicycle spoke. 4. Galvanized metal 0.7 mm thick. 5. Nail. 6. Eraser. 7. Self-tapping screws.
As the basis for the undercutter, we take a board 40 by 12 cm, 1 cm thick. Let me make a reservation right away: all dimensions are very arbitrary and may change.
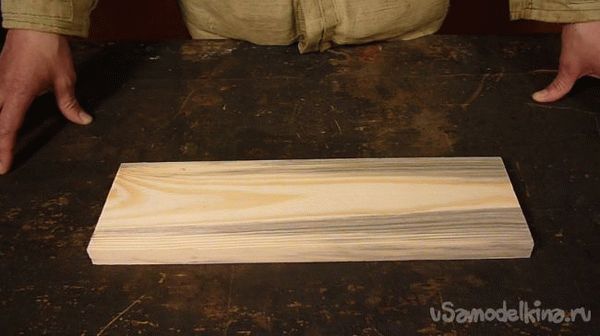
The most time-consuming part of the job is bending the line catcher from the spring wire. Mark 5 cm from the edge of the wire.
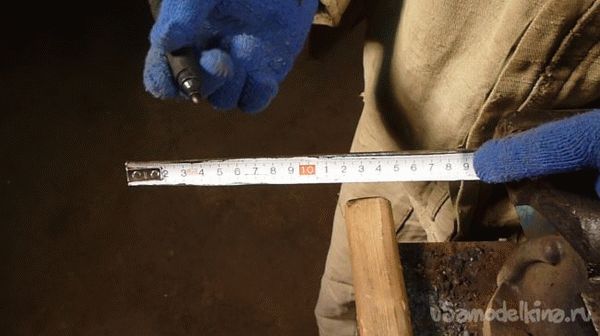
We clamp it in a vice and bend it at 90 degrees.
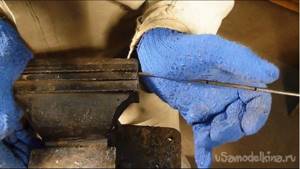
We trim the resulting bend with a hammer. The main thing is to do everything slowly so that the wire does not burst at the bend.
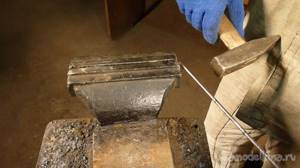
Now mark 8 cm from the bend, also clamp it in a vice and bend it in the opposite direction.
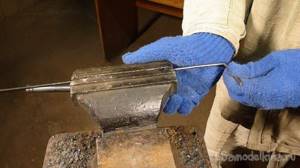
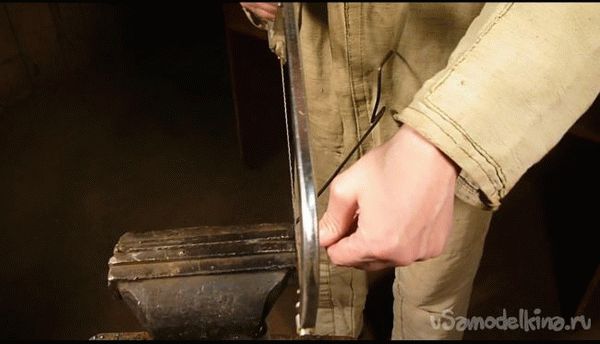
The most important part of the work is to bend the wire 180 degrees. We mark 5 cm. We clamp it in a vice and first bend it at 90 degrees.
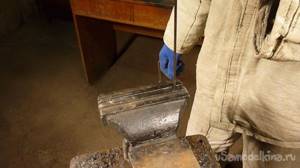
Now, using a screwdriver and a hammer, carefully bend the wire 180 degrees.
If everything worked out, mark the center of the line catcher and bend it a little.
We apply the resulting workpiece to the base and mark the beginning of the bend of the spring.
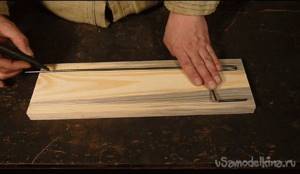
We clamp it in a vice and bend it at 90 degrees. in the direction of the line catcher.
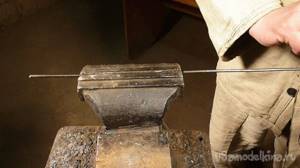
Mark a size approximately equal to half the width of the board and bend it at 45 degrees. to the plane of the undercutter lever.
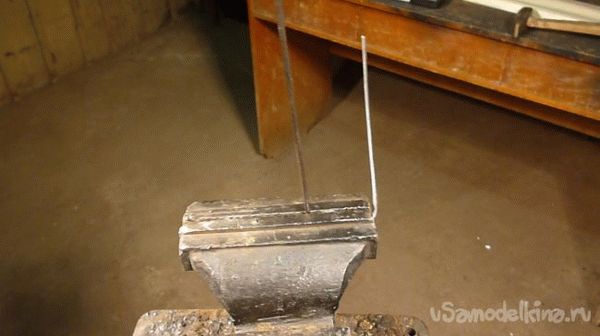
Mark 5 cm and cut off the excess with a hacksaw.
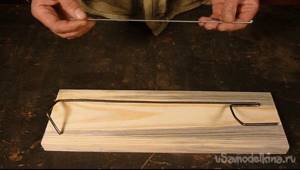
The lever with the spring is ready, now we’ll make a guard from a bicycle spoke.
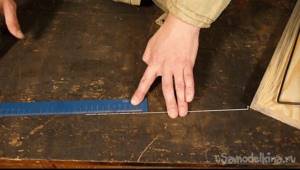
Mark from the edge of the knitting needle 5 times, 2 cm each.
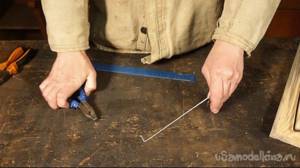
We bend it with pliers, forming the part as shown in the photo.
On the other edge of the knitting needle we bend the hook for attaching the eraser.
Now you need to secure the resulting parts to the base. To do this, we will make four clamps from galvanized metal 0.7 mm thick.
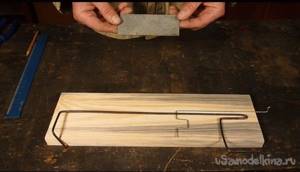
We mark four segments approximately 4 by 1.5 cm and cut with a hacksaw.
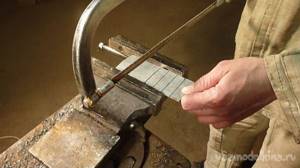
Bend the pieces in the center, using the remaining piece of wire as a template. Also, if you have something, you can round the edges.
Of course, it is better to drill holes in the clamps for self-tapping screws, but if you have nothing, you can punch them with a nail or dowel.
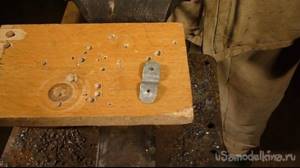
We fasten all the parts to the base with self-tapping screws. It is better to put one clamp on screws and make it removable, although this is not necessary.
We bend the undercutter lever, mark the location of the guard and screw it on.
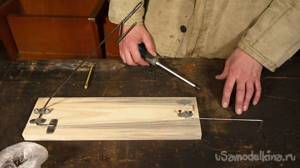
To prevent the edge of the spring from pressing through the board, we install another metal plate. We install an eraser with a slot on the top of the guard for fixing the fishing line or cord.
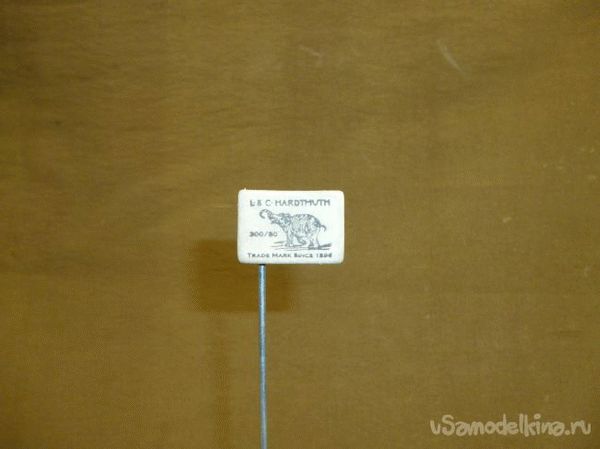
The self-cutting device is almost ready; it remains to install one more part, without which it will not work. Here's a hook.
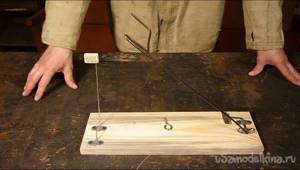
It can be bent from a nail and driven into the base. We found a ready-made one and screw it into the base in the center of the line catcher.
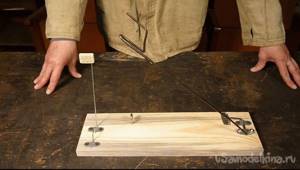
Our undercutter is ready for work. A little advice. To avoid accidental activation of the undercutter when alerted, it can be secured, for example, with a nail.
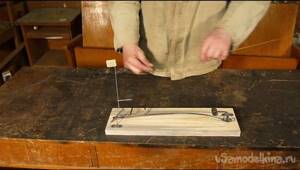
This design of the undercutter is intended for bottom tackle such as a hook or an elastic band.
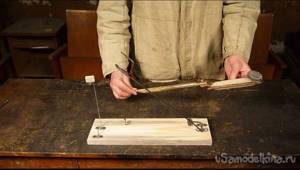
The principle of operation is this. We throw the tackle into the water, secure and fix the hook, and thread the line into the hook.
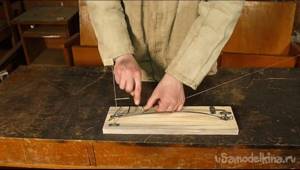
We fix it in the slot of the eraser.
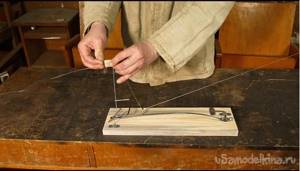
We remove the clamp and wait for a bite.
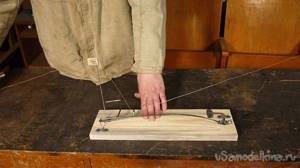
At the moment of a bite, the guard disengages and the spring is activated. Fish on the hook! One clamp was made removable so that the undercutting lever could be folded and it would be convenient to transport it. We unscrew the clamp, move the lever to the edge of the base and put the clamp in place.
Nodes in more detail.
Everyone has no tail or scales!
Watch a video about making a mono undercutter here.
Purpose of self-cutters
A self-hooking device is a device designed to perform hooking at a certain tension force on the fishing line or cord when a fish bites. Self-cutters are used in the following cases:
- With a large amount of gear. If an angler fishes with 4-5 feeders, then he will not be able to equally monitor each tackle. In this case, he will be helped by self-cutters who will perform the sweeps for him;
- When fishing at night. At night, automatic hookers will give you the opportunity to sleep for a couple of hours and not worry that the bite will be missed;
- With a weak bite. When the fish is inactive, it is easier for the fisherman to install all the gear in the self-hooking hooks, adjust them for a weak bite and fish at this time with a float rod;
Do not use self-hookers when the bite is active - in this case, the fisherman will spend a lot of time reloading the very quickly triggered self-hookers. In this case, it will be easier to hook manually and fish with no more than 3 feeders.
Unusual options
Mention should also be made of interesting species invented by the people.
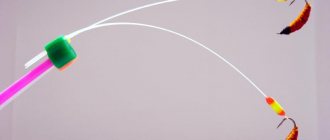
For example, a float cutter:
- in this case, the upper antenna is removed from the float;
- a homemade foam rubber ring with a diameter slightly larger than the thickness of the antenna is put on it;
- then the antenna is glued into place. The ring should move freely along the antenna;
- a bead is attached on top;
- When biting, the ring prevents the float from plunging into the water, hooking the fish.
If the fish rises, this method will be useless.
What are the types
Depending on what gear is used, all self-cutters are:
- For bottom gear - designed to perform hooking when fishing with classic bottom equipment;
- For the feeder - a large class of self-cutters designed for installing feeders on them. Special hooks can also be used as self-hookers in feeder gear, the design of which, when swallowed and pulled by a fish, facilitates easy and reliable entry of the sting into the soft tissues of the fish’s mouth and reliable retention during fishing;
- For float gear. Both self-cutters, similar to feeder ones, and special floats are used, which have a movable flat washer on the antenna made of buoyant material several times wider than the body. Such a self-hooking float works in the following way: when biting at the bottom, the washer prevents the float from going under water, counteracting the fish’s pulling of the hook with the nozzle and thereby causing self-hooking.
Depending on the method of manufacturing and modernization, auto-cutters are:
- Factory - represented by models of domestic or Chinese production;
- Homemade - self-hooking hooks made by fishermen themselves;
- Modernized (improved) - home-made or factory self-cutters with installed additional components or improved existing components.
Types of fishing rods with self-hooking hooks
There are several types of self-cutting fishing rods , which differ in their design features:
- Homemade models. They are special designs that are intended for a specific fishing direction. If you know what kind of fish you are going to catch, then it will be much easier to build such a mechanism with your own hands by purchasing the necessary parts in the store. At the same time, self-assembly will save you from many financial investments, and will also allow you to gain valuable experience. A homemade product will be a valuable addition to your fishing arsenal, because with its help the angler will be able to reduce the number of empty bites.
- Store-bought. In modern fishing stores you can find a wide range of self-cutting mechanisms. Many of them are made for a specific purpose, making it much easier to find the perfect solution. Sometimes you manage to purchase a good, and most importantly, affordable option that will quickly pay for itself.
- Improved factory models. As a basis, you can take any available factory option or a homemade design. If desired, it can be changed by adding, or, conversely, removing some component. It all depends on the fishing method and the characteristics of the intended catch.
Which option to choose for yourself is up to you. The main thing is that it is suitable for specific purposes and fulfills its duties.
Features of different undercutters
Depending on the type of fishing in which self-hookers are used, they have different design features:
- The presence of fasteners for the fishing rod. For feeder self-cutters, the presence of fasteners for the blank is mandatory, while for classic bottom tackle on a reel, fasteners in the design of this device are not required;
- Spring elastic force;
- Features and force of trigger mechanism. The design and triggering force of the self-hooking trigger depends on the type of gear and the weight of the intended catch.
Read: Self-hooking spinning rods
DIY feeder cutter
To make a self-undercutter you will need the following tools:
- Drill;
- Set of heads;
- Bulgarian.
Materials:
- Steel wire with a diameter of 3 mm;
- Stainless steel wire with a diameter of 1.2 mm;
- Aluminum corner 20×20 mm;
- Door spring;
- Bolt 8×30 mm;
- Nut M8;
- Bolt 6×15 mm;
- Nut M6.
Making an auto-cutter
- We make a stand 80-100 cm long from an aluminum corner. At one end we make an acute angle to fix the self-cutting device in the soil of the bank.
- From wire we make a rocker with two brackets for attaching the fishing rod - the rear bracket should have the shape of the English letter “D”, with the flat part directed downwards, and the front one - the Russian letter “C”, with the convex part facing downwards. The two brackets should be positioned opposite each other and perpendicular to the wire axis of the rocker arm.
- We also make a loop in the middle of the rocker to secure this element to the main post. When bending the front bracket, we make a loop for attaching the trigger mechanism.
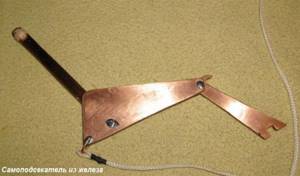
- From thinner steel wire we make a trigger with a loop in the middle, a ring and a semicircular hook at the ends.
- From the same wire we make the second part of the trigger mechanism, consisting of two straight sections, movably connected to each other (ring to ring) - in this case, one of the sections is attached to the front bracket in the same place as the trigger, and the second is slightly bent and is passed into the ring in the middle of the trigger.
- To fix the moving parts in the working position, 5-7 cm below the upper end of the main post, a small wire hook is attached to its back side.
- Using a 6x15 mm bolt and a corresponding nut, we attach the wire trigger to the loop on the front bracket.
- In the rack, at a distance of 30-40 cm from the upper end, drill 3-5 holes.
- Using a loop in the middle of the rocker arm, we secure it with an 8x30 mm bolt and a corresponding nut on the main strut.
- We fasten the spring by hooking its handles to the holes on the stand and to the flat part of the rear bracket.
The installation process for the assembled self-cutter is as follows:
- The rocker arm is bent with force so that the angle between its plane and the upper edge of the rack is equal to 900.
- The junction of the moving parts of the trigger mechanism is attached to a hook on the back of the rack.
- The free tip of one of the two moving parts of the trigger mechanism is passed into a ring in the middle of the trigger.
- The rod is fixed in the rocker brackets, and the excess fishing line is unwound.
- The line from the reel is carefully pulled back and clings to the trigger hook.
- When the fishing line is pulled, the trigger hook moves, the tip of one of the two moving parts of the trigger mechanism pops out of the trigger hole, thereby releasing the rocker arm with the spring, which rises sharply, thereby performing the hook.
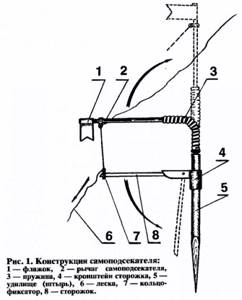
Drawing of a simple self-cutting device for a feeder
In order to improve the sensitivity of this device in a rig, it is better to use a hard braided cord.
