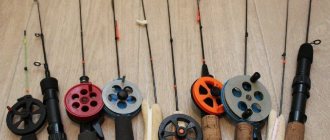
Smart (automatic) winter fishing rod - very useful homemade for winter fishing. This fishing rod is also called “ winter self-shaker" or "electronic winter fishing rod" (but only don't confuse with a poaching method of fishing of a similar name!). This fishing rod is completely legal and does not harm the environment.
A similar fishing rod can be bought in stores, but the prices for such products are very high. In addition, many people immediately want to have several of these fishing rods, which becomes absolutely unaffordable.
Quick links
- Instructions for using and programming the fishing rod
- Buy my fishing rod assembled
- How to install firmware
- How to activate the firmware
Stay tuned:
- YouTube channel
- Vkontakte community
- Odnoklassniki group
Description of the electronic fishing rod
The fishing rod is designed to facilitate such a routine operation as playing with a jig: press a button and the fishing rod vibrates itself, with the required frequency, amplitude and pauses.
The fishing rod has several programs for playing with a jig, which can be switched with a button.
The fishing rod has two modes: manual and automatic.
- In manual mode, the whip vibrates while the button is held down .
- The automatic mode allows you to turn on the fishing rod, put it down, and calmly drink tea, warm your fingers, keeping an eye on the nod.
Self-assembly of an electronic winter fishing rod
The smart fishing rod is assembled on the basis of the popular board for electronic homemade products Arduino Nano 328p and a cheap Chinese servo motor SG90 or MG90.
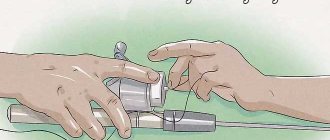
To assemble such a winter self-shaker you will need minimal soldering skills, a computer and a few hours of time.
Parts List
To assemble a winter fishing rod yourself, you will need the following electronic components:
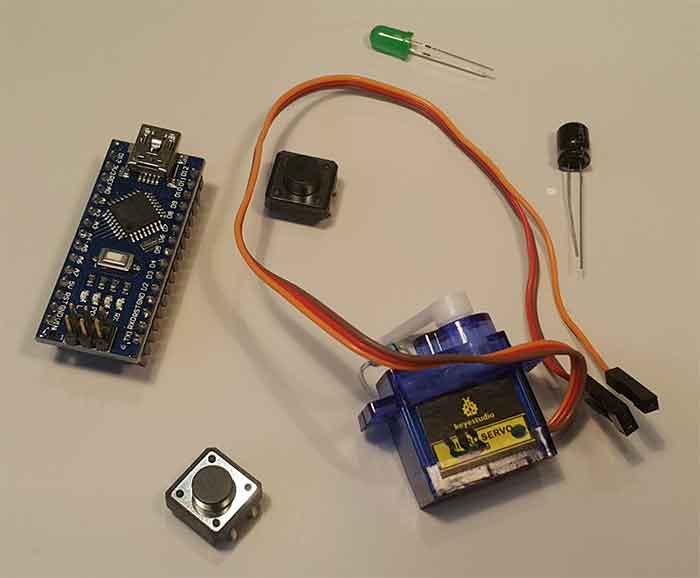
Parts for assembling a winter fishing rod
- Arduino Nano 328p board
- Servomotor SG90 (with plastic gearbox) or MG90S (with metal gearbox, recommended)
- Tact buttons, 2 pcs. (without fixation Off-(On))
- Wires (thickness AWG26-AWG30 or 0.4-0.3mm)
Not necessary:
- Capacitor 470uF 10V (or 16V or higher)
- LED (regular 5mm LED, rated for 10-20 mA current)
- Resistor 220 Ohm (power is not important)
- Pipe (piezo emitter) - passive or active, 5V
Of course, the fishing rod will need food. It can be an external 5V battery (power bank) or your own assembly on Li-Ion batteries with a 5V converter.
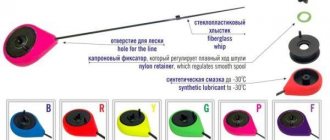
You will also need to place it all in a suitable waterproof case. This could be a mounting box from Leroy Merlin, a piece of PVC pipe, a case for a toothbrush, even a Tic-Tac box. For example, like this:
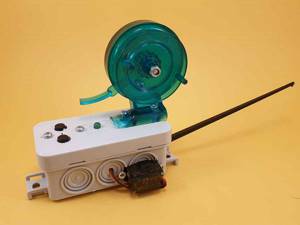
Electronic fishing rod Zharduinka in a housing from a mounting box
Assembly diagram of an electronic winter fishing rod
The fishing rod design is very simple. Below are 3 versions of the same circuit - on a breadboard, without a breadboard, and a schematic diagram. Choose which one is more visual!