It’s no secret to any of the readers of 34fish.ru that a lot of fishing depends on a properly selected float. You can miss a bite or make a hook at the wrong time if the equipment for the rod or long-cast fishing method is not installed correctly. Every fisherman has many floats in his arsenal. And how many of them remained in the thickets of the reservoir, trees or bushes. It's a shame if these floats are expensive!
You can buy a new float, or you can make it yourself. The method of fishing and what kind of fish you are going to catch will be decisive in the choice of material and shape of the float to be made.
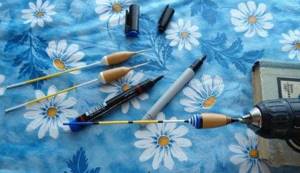
Materials and tools for making floats
Most often, craftsmen use available materials to make floats with their own hands:
- Styrofoam;
- cork;
- goose feather;
- cane.
You will also need tools and additional materials: a vice, a knife, a drill with a small drill, sandpaper, glue, varnish of different colors, degreaser.
We also recommend reading:
How to properly tie a jig to a fishing line Diagram on how to learn how to tie a hook to a fishing line Tourist knots - types and methods of tying Gardner's loop for a feeder: how to tie
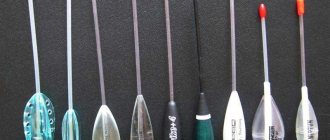
Sports floats for fishing in currents
Sports floats have already managed to become the favorite gear in the arsenal of many fishing enthusiasts. It’s not for nothing that they are called that, because they are mainly used during sport fishing.
In order not to spend money on it, a sports float for the current can be made with your own hands. To do this you will need:
- Small rubber or plastic base.
- Wire.
- Waterproof glue.
All you need to do is wrap the wire around your base and secure it with glue. Such a primitive design can become an excellent sports float.

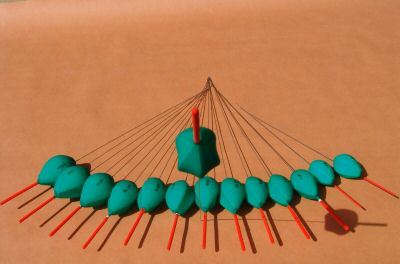
Gallery: fishing floats (25 photos)
How to make a float from foam plastic
This float is highly sensitive. Basically it is made in the form of a ball with a diameter of 5-7mm, an olive or a drop.
- First, square blanks of the required size are cut from a single piece with a knife or hacksaw.
- After that, using a stationery knife or using a drill with a special attachment, give the float the desired shape and sand it with sandpaper.
- Having thoroughly cleaned it from dust, paint it with tempera or gouache and dry it.
- Cover with varnish and leave to dry.
- A through longitudinal hole is drilled in the center, into which a core of feather or wood up to 7 cm long and 1 mm to 1.5 mm thick is inserted.
- You can glue a part of a thin feather only into the upper part of the float, and in the lower part you can make a loop for fishing line from thin wire or an eye from a hook.
Float - a sensitive load for shy fish
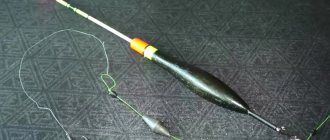
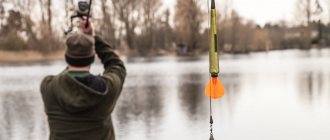
It may only seem from the outside that there is nothing complicated in the equipment of a float fishing rod and everything has been studied for a long time and is extremely clear. Meanwhile, there are many ways to secure the float itself, a whole science of correctly distributing weights, using one weight or a combination of them, how to properly tie leashes and many other nuances, which together make up sensitive tackle. It is clear that a novice fisherman, without mastering all the skills of installing float gear, has a general understanding of the float and his gear, under all equal conditions, will be many times rougher and less sensitive than that of a professional or experienced fisherman. It is based on these considerations that I want to show one of the options for mounting float gear, which is perfect for catching cautious bream, roach, chub, and ide. As for the characteristics of the reservoir where this installation can be used, everything is not clear: I fished in still water and in areas with slow currents. But, naturally, you need to be aware that for each specific body of water the tackle will need some modification: add sinkers somewhere or raise (lower) them, somewhere instead of an antenna float, put a barrel-shaped float, etc. In general, I will describe the basic principle of the gear, and leave modernization and experimentation to your discretion. Perhaps somewhere you have already seen something similar, in this case the repetition of the material is only beneficial.
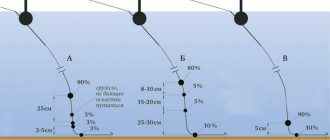
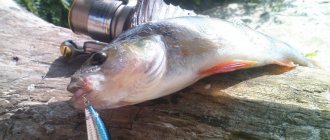
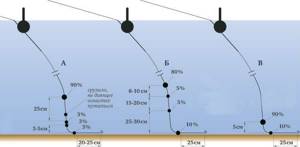
The tackle is, in general, easy to assemble. A float, literally under it I put the main weight (the weight of which is approximately 80-90% of the total load), a second small weight, a leash (sometimes fishing goes without a leash), a hook. The hook from the sinker is located at a distance of at least 20 centimeters. In my opinion, this is the optimal distance when the fish is not so scared of foreign objects. In general, all distances are determined empirically, the main idea is that when casting, the hook sinks more naturally than both sinkers were in close proximity to it. In principle, the main weight can be attached to the lower antenna of the float, and a small pellet can be placed below. All this is good when fishing is done from shallow depths. But if you need to fish from a depth of 2-3 meters, I place the sinker like this: I place the main weight at a distance of about 100 centimeters from the hook, and the second additional one - at 20-25 centimeters.
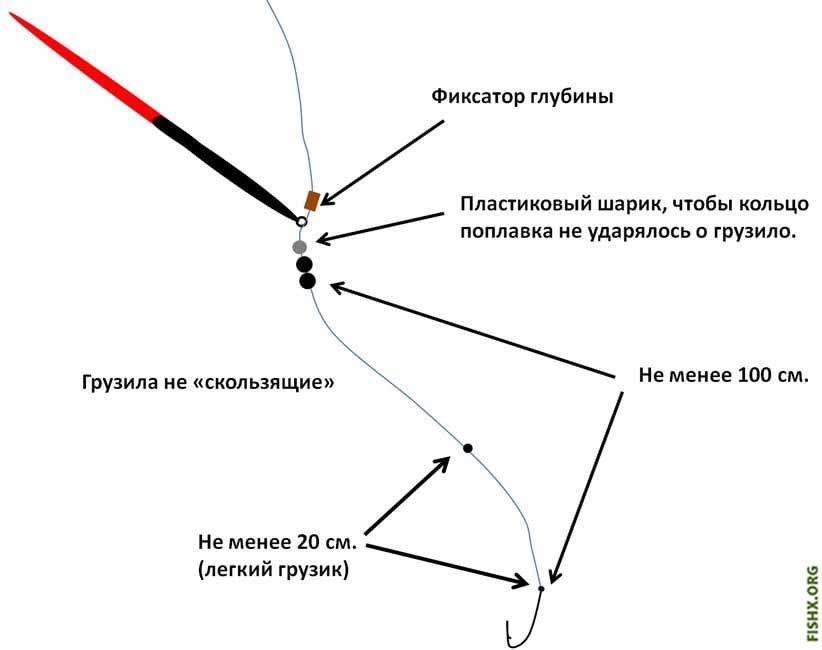
When casting such gear, the float almost immediately takes the desired position, and after a few seconds, the hook with the nozzle or bait smoothly sinks to the bottom (thanks to the second light weight), creating the illusion of a natural fall. Just what you need.
Please note that this installation is not the only one possible, so there is no limit to perfection. Experiment and enjoy fishing.
All the best to you.
I recommend to read:
Box for hooks - the importance of using a box for hooks when fishing, for the purpose of careful storage and convenient use.
Bream on the feeder
Share with your friends!
Making a float from cork
The manufacturing principle is similar to the previous one. But it is necessary to take into account the porosity of the material and the fact that it becomes heavier when saturated with water. Therefore, before work, it is advisable to seal all large holes in the workpiece for floats with waterproof putty or finely crushed cork mixed with glue that dries quickly.
Then sand, degrease and coat with oil paint. Insert a rod with a loop into the longitudinal hole, at the end of which there is an eyelet from a large hook (No. 9-10). It turns out to be an excellent float on a hinge, which is fixed with a piece of tube put on a fishing line.
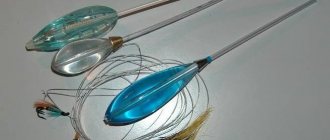
How to load a float for the current?
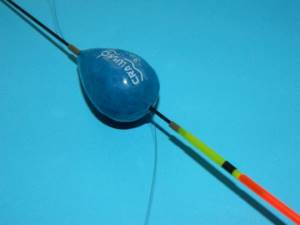
If you decide to use a flat-shaped float, you need to take care of its correct loading. You will need a lightweight flat float that is attached to the fishing line with rubber bands. Using small weights, adjust the weight of the float so that it immediately takes the correct position in the water, regardless of the strength of the current.
The situation is similar with loading sports floats. Since the center of gravity of floats of this type is low, they are more sensitive to external physical influences. By additionally surrounding the sports float, you can easily achieve its most optimal position in difficult fishing conditions.
Author of the article: Vitaly Leonidovich Ivanov, 2021.
Goose feather float - traditional
An indispensable float for catching very cautious fish, it works great in strong waves. Very easy to make.
- The only operation that requires caution is removing the feather from the feather. It is necessary to remove without haste, so as not to damage the integrity of the pen.
- Then the thinner lower part is cut diagonally and folded into a loop.
- A ring of thin wire and a tongue are inserted from below, wound with a thin thread to the rod, and covered with colorless varnish.
- Half of the float or its upper part is painted. It should be taken into account that very bright colors scare away fish.
What difficulties might arise with the float?
Rivers always attract attention with their beauty and fishing spots. But do not forget that fishing with a float in the current can a priori create difficulties, such as:
The probability that the float will take a certain degree in a strong current is quite high. In this situation, further fishing is simply impossible, since you will not have the opportunity to examine the float during a possible bite.
Read here Types of floats: classification, selection features and step-by-step instructions for using various types of floats (75 photos)
The current will carry away the bait, thereby exposing the hook and making it uninteresting for the fish.
To prevent such problems from occurring during strong currents, many fishing stores sell special floats for such cases. Their cost varies from 200 to 400 rubles.
The Kaiser float is considered to be the best float for fishing in currents; it is distinguished from all others by its quality, design and effectiveness.
It is also worth noting that such a float is made of high-quality material, which is not afraid of sudden changes in temperature, strong impacts of water and other damage that may occur during fishing.
How to make a reed float
Extraordinarily sensitive and lightweight cylindrical float. Silently lies on the water. The reed must be completely dry and undamaged. The strength of the material is checked by squeezing it between your fingers.
- Cut the reed with a utility knife into pieces corresponding to the length of the float.
- The cuts can be slightly sharpened with a pencil sharpener.
- Glue a wooden twig on top and a wire loop on the bottom.
- Wrap thread to thread both top and bottom. Carefully level and varnish.
- Make sure that the parts are centered and that the cuts and joints are well coated with varnish.
- Paint the top in the desired color.
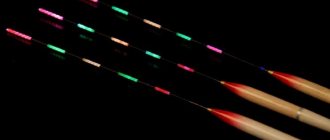
In what weather conditions should I take which float?
This point is very important, because your possible catch directly depends on weather conditions. Consider some of the most popular and common conditions for fishing with a float rod.
Complete calm (absolutely calm weather, no wind)
Well, in such beautiful weather, a thin “goose feather” will do just fine. Many people ask why a pen, because there is a “needle”, a “ballpoint pen”. It's simple: the feather-shaped float has the greatest sensitivity during calm weather. That is why it will be possible to immediately recognize whether the crucian carp is ready to profit, or is just trying. In addition, an absolute advantage is that the fish does not feel the float itself, since it is very light, as mentioned earlier.
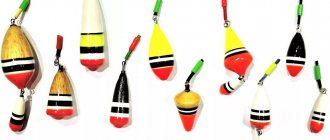
Windy weather but no current
The average breeze ruins all our plans, but most importantly, it ruins trouble-free fishing. Plus, a float in the form of a feather will not work, it needs to be changed, since the “goose feather” will jump on the surface of the water, and we will only see a bite if the crucian carp immediately drags the bait to the bottom, which almost never happens, this idea goes against with the habits of a fish.
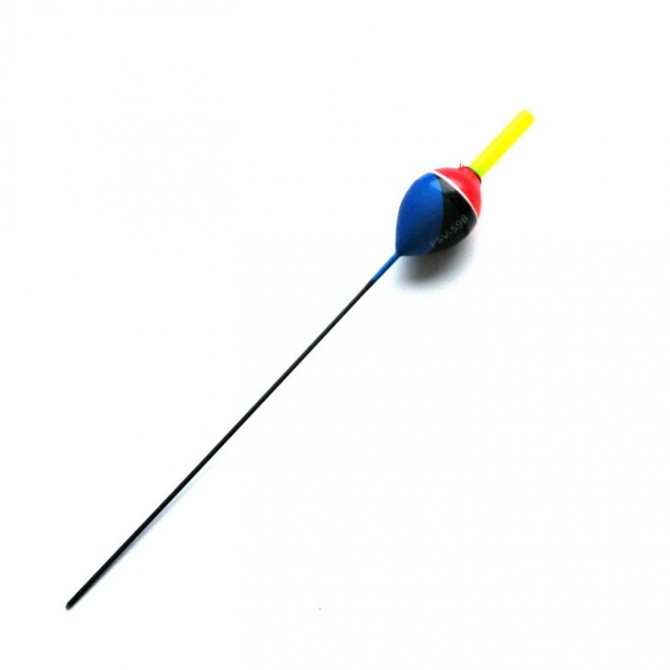
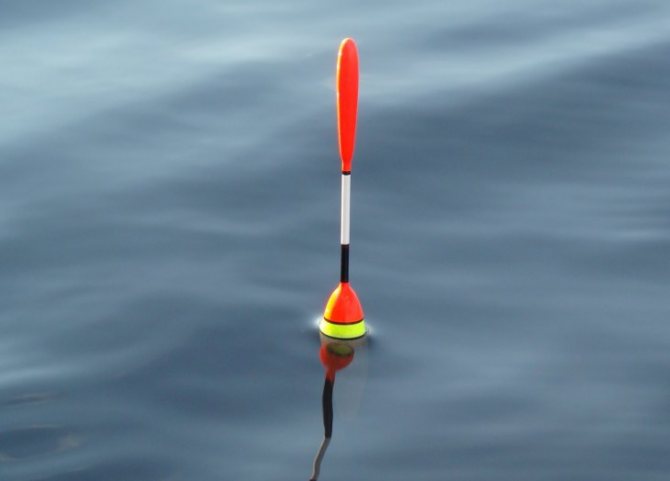
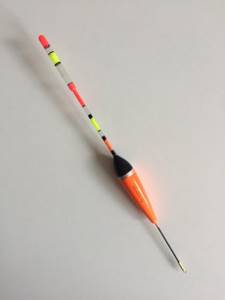
The float must be taken with an “acorn-shaped” main body, as well as a thick top and, in combination, a bottom. All this serves for maximum stability, a kind of response to bad weather. Of course, it is not as sensitive as a goose feather, but its design allows you to safely fish in bad weather.
Perhaps we need to outline its operating principle. The top that stands out from the water easily cuts the surface of the water, but the main body itself must sink a little so as not to succumb to small waves.
Average speed current
There is no point in considering a strong current, since crucian carp are not found there. But even with an average float we need to change. If you want a good catch, watch the weather conditions.
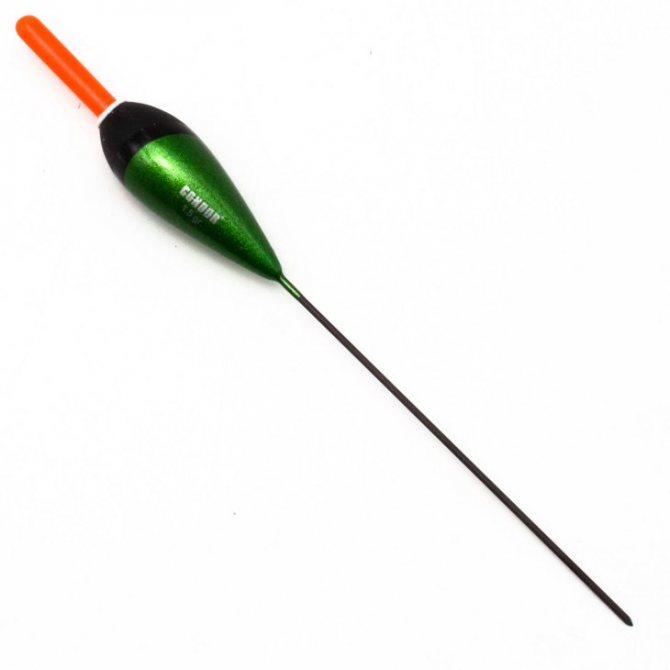
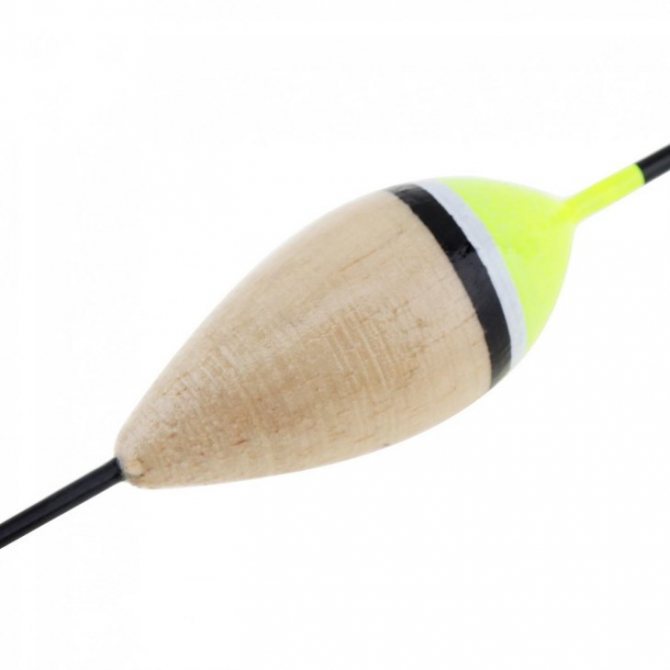
It should look like this: the main body is oblong and oval in shape, with a long bottom. At the end, for greater stability, you need to attach a shot, and, of course, you need to take into account the resistance to flow in order to increase the weight on the fishing line to the required weight.
The fishing line itself in this type of float is attached in two places. All these machinations facilitate fishing in bad weather conditions, but they significantly reduce sensitivity; of course, you can see the bite, however, you will have to watch harder.