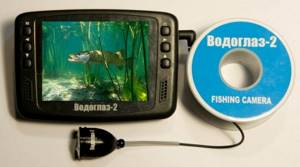
Just recently, we could not even imagine that it would be possible to use an underwater camera to catch fish and select the right place. Now any fishing store and electronics store is ready to offer you a huge selection of underwater cameras. But the prices of these accessories, to put it mildly, are not small.
But fishermen who have a great desire to simplify and make it easier for themselves to find a place with a good bite have long been practicing making their own underwater camera for fishing.
Operating principle of the camera
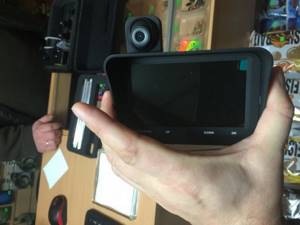
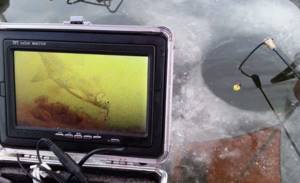
Into the ice hole drilled by the fisherman, he lowers the camera for underwater fishing, which in turn is hermetically sealed in another container.
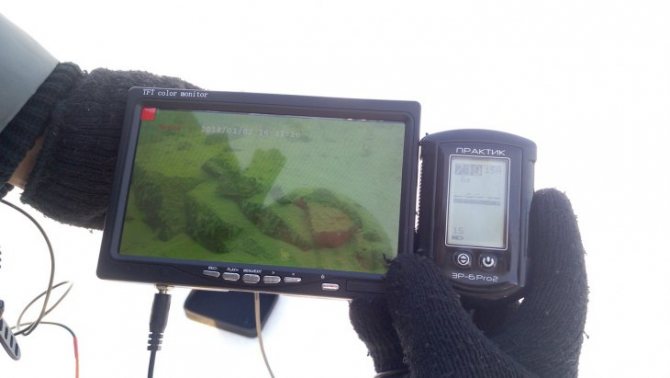
Then the light illumination of the water is turned on, and with the help of a cable that transmits the image to the surface screen, the fisherman sees whether there is fish in this place and what its activity is.
And here the choice of lighting devices cannot be ignored. It is best if these are LEDs, since yellow light in green water may not give the desired effect.
What to make a camera from
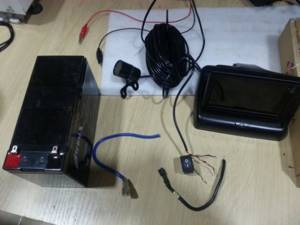
To make your own underwater camera you will need:
- Battery from a car;
- Waterproof box;
- Inverter;
- Socket adapter;
- Insulating tape;
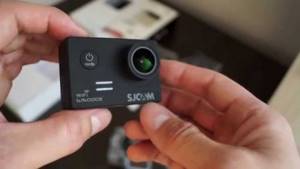
- The video camera itself;
- Backlight for better visibility;
- Lead weight;
- Glue;
- Container made of plastic material.
«>
design features, pros and cons, manufacturing technology
Every fisherman dreams of seeing what happens under the ice. It is this desire that has caused the demand for underwater cameras for winter fishing, the prices for which from manufacturers are far from low. This fact became the driving force for those who are passionate about fishing in their intention to create a similar attribute with their own hands.
ShowHide
Advantages and disadvantages of a homemade underwater camera
A do-it-yourself underwater camera for winter fishing, like any home-made device, has pros and cons.
- Disadvantages include:
- significant dimensions, compared with factory copies;
- problems with providing the device with energy, for which you have to use a car battery, while factory models have a very low level of energy consumption and do not need additional recharging;
- Unlike branded copies, homemade devices do not have operating modes and, in most cases, the ability to first record information and then play it back;
- limited functionality of a homemade device;
- time spent searching for materials and tools, and then for subsequent assembly;
- Not everyone can make and set up a homemade underwater camera; they may lack knowledge, skills and patience.
The main, but most important argument in favor of making a camera for filming underwater with your own hands is that the cost of this device is several times lower than the price of a finished factory product.
Ice fishing design
To properly manufacture the device yourself, you need to know the principles of its operation and design features:
- the underwater video camera must be designed in accordance with land-based devices;
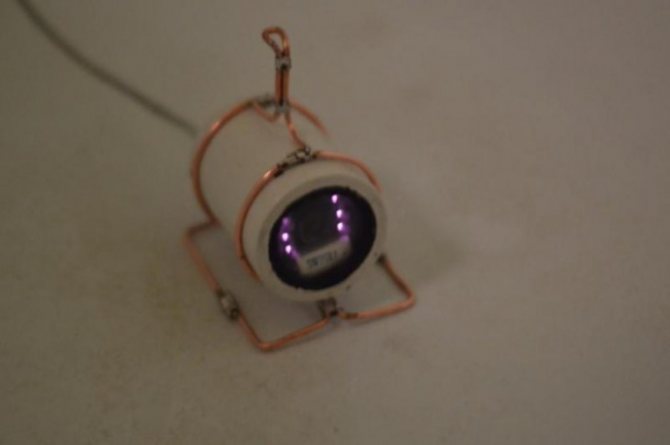
- it is equipped with a backlight for the ability to see in the water column;
- the device body is hermetically sealed;
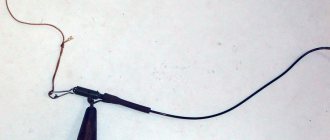
- the camera is equipped with a cable through which information is transmitted to the monitor;
- It is necessary to have a battery for continuous energy supply;
- to improve visibility when shooting video, it is desirable for the camera to be able to rotate;
- when immersed to a significant depth, the device successfully withstands pressure without breaking down;
- the camera used in the design of the device meets all the requirements for high sensitivity;
- When exposed to low temperatures, the device should not turn off.
Conditions and opportunities
- Using an underwater video camera opens up interesting possibilities:
- helps to observe the behavior of fish and other living creatures at depth;
- allows you to see the reaction to the bait;
- see life under water in all its glory.
Did you know? In 1959, in the coastal zone of South Australia, the heaviest fish was caught on a fishing rod - a white shark, weighing 1208 kg.
All of the above options are valid subject to certain conditions:
- high sensitivity of the camera, because high-quality shooting and the absence of blur on the screen will depend on this;
- photosensitive matrix in the device;
- anti-fog protection;
- ability to adjust contrast;
- night vision mode;
- backlight with moderate brightness, improving visibility when shooting;
- two lenses in the camera that improve the field of view;
- the quality of the monitor presenting real images;
- compact chamber size, allowing the device to move freely through the hole;
- choosing the correct depth for shooting, which will help avoid depressurization of the device.
How to make an underwater camera with your own hands
Having shown ingenuity, enterprise and ingenuity, you can, without any particular difficulties, in a relatively short time, try to make a homemade camera for underwater photography, functionally not much different from its production counterparts, but costing much less.
Did you know? The Amazon has learned how to catch an electric eel that can deliver a 500-volt electric shock. To do this, a large herd of cows is released into the water, the fish uses all its charges on the animals without harming them, after which it becomes absolutely harmless for fishing.
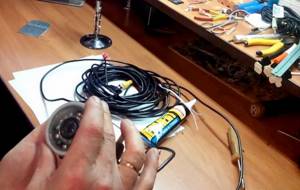
Selection of materials and tools
The main thing in this matter is to correctly select the necessary materials, tools and other components necessary to assemble a device operating under water:
- small multifunctional video camera with high quality footage;
- a small box with absolute tightness, corresponding to the size of the camera;
- car battery;
- cable for extension to the required distance;
- inverter for converting current;
- monitor or mini-TV;
- lead load;
- ultraviolet diode illumination;
- high quality glue;
- transparent plastic container;
- insulation tape;
- sealant.
Water protection
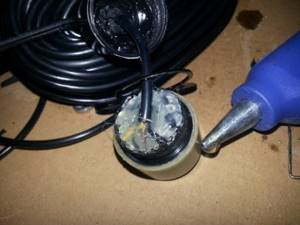
The sealed state of the device is the main condition for its functioning under water. The insulation of the underwater video camera from the least access to moisture should be at the highest level. It is recommended to treat all parts exposed to water with silicone or other material with sealing properties. After the camera is completely assembled and placed in a special box, it is necessary to properly insulate all joints and holes with sealant - silicone or special glue.
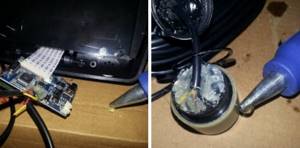
In this case, you especially need to pay attention to the insulation and reliable fixation of the cable entry into the container, the position of which should not change during the operation of the device. The distance from the lens to the wall of the box should remain minimal to avoid the formation of condensation, which impairs visibility and can cause damage to the device.
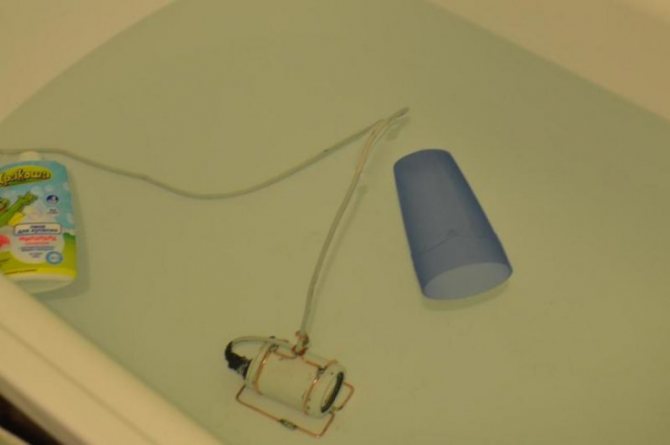
Important! Before using in natural conditions, it is recommended to test the kit for leaks in the bathroom and for winter hardiness in the refrigerator freezer. Only by making sure that water has not gotten inside and that the case has not cracked due to low temperatures can you be sure of the suitability of the device.
Manufacturing technology
You should assemble the underwater video camera step by step:
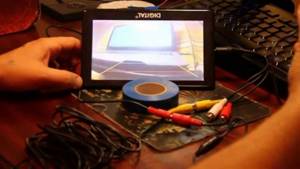
- Check the operation of the camera, then check the monitor or TV connected to the video camera.
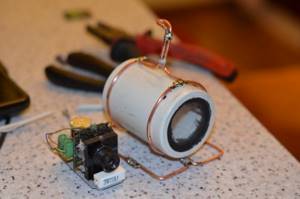
- Place the working camera in a specially prepared plastic box and securely fix it. It should be horizontal with the lens facing forward.
- Determine the locations for the holes and cut them, pass the cables through them.
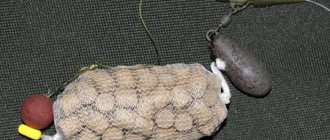
- Place the lead weight in a container next to the video camera, securing it so that it does not move.
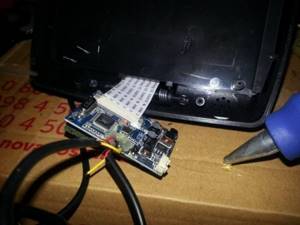
- In a certain place, make holes for the backlight lamps, insert the light bulbs with the wires connected to them into these holes. Connect the wires from the lamps to the cable from the camera. Treat all joints and joints with special glue and insulate them.
- Check again the location of the camera, its operation, and whether all wires are connected, including the wire from the power source.
- After the control check, completely seal the plastic container with silicone or other special insulating material.
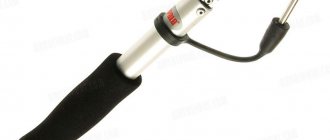
- Attach a fastening in the form of a rope made of artificial materials that are not quickly exposed to water to the plastic box to make it more convenient to lower the device into the hole.
- You should monitor the condition of the battery and keep it charged at all times.
Video: DIY underwater fishing camera
Storage and transportation rules
If the underwater camera is not transported correctly and proper storage conditions are not provided, it may fail without even making its first report.
Important! For a monitor or TV, you can make a separate box with a special window for the screen. In such a device it is convenient to move the monitor on the ice and hide it from sunlight, the ingress of which degrades the image.
To ensure longer service life of the device, you should:
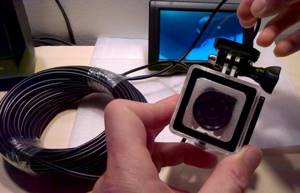
- select a special reel for winding the cable , because at low temperatures it cannot be bent. The cable reel can be placed in a separate suitcase or box in which it will be transported and stored in the future;
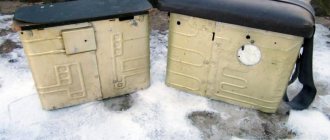
- a suitcase or a special box in which the camera will be stored must be equipped with separate slots and partitioned off with rubber bridges. Place the camera, monitor, cable reel (if it is not stored separately) in these compartments. Everything must be secured and not change location during transportation;
- After using the device, all elements should be removed from the box , dried, the video camera should be charged, all areas treated with sealant should be checked for damage, if any, and re-treated with sealing agents.
Man always strives to know what is hidden from his eyes. A special video camera can help you see the underwater world in all its glory without endangering your own life. And if not everyone can afford an industrial model, then one made with one’s own hands will bring double pleasure and will become a source of pride for any fisherman.
What should the camera be like?
The camera you will make should be very small in size. It must remain sealed at any depth, both small and large. You can't build an underwater camera without following strict guidelines.
An important aspect of choosing the camera itself is its quality. We must understand that the more pixels a camera has, the better, clearer and more pleasant we will receive the image on our monitor.
Principles for your own production of an underwater video camera for ice fishing
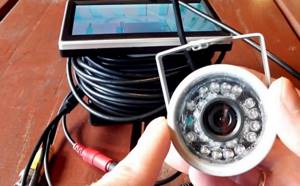
There are three key principles when creating a fishing camera: compactness, sealing, image quality. So it is advisable to start assembling with the selection of the camera itself. There are several parameters to focus on:
• Sensitivity . The higher this value, the better the image quality. And this is important, since the shooting will often be carried out in muddy water in conditions of limited visibility;
• Backlight. It is important to provide illumination, since the sun’s rays do not penetrate into the depth and under the flight. It is advisable to use infrared diodes that do not scare away fish;
• Immersion depth. The chamber must withstand high pressure. Consider what depth you will be shooting at;
• Viewing angle. Low-angle cameras have sharper images than wide-angle cameras. If you want to see as much as possible, use two lenses;
• Reliability. Choose licensed sellers. Often Chinese fakes do not last long, and there is simply no point in such savings;
• Compact. The lens should be small so that it fits easily into the hole and does not scare away the fish.
Assembly Guide
The first thing you need to do is make the appropriate settings on the camera and close it in a waterproof box or container and close it so that it cannot move there.
After this, at the bottom of your box, in which you first need to make a hole to thread the cable, place small weights cast from lead. You also need to take care of the place where the lighting lamps will be located.
To make your vessel as sealed as possible from water, you should seal it with glue; you can also use waterproofing sealant. After all the procedures done, solder the chain of wires so that both the camera and its backlight work.
The choice is yours: buy the equipment or assemble it yourself?
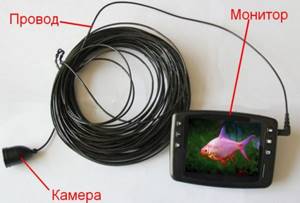
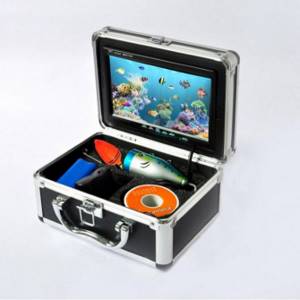
And we will present below a line of such devices and their cost. What do they consist of:
- monitor;
- power supply (battery);
- camera module.
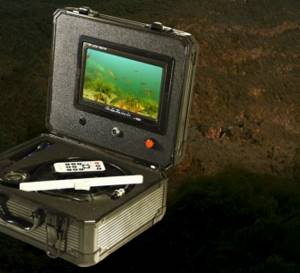
The first, the most primitive for a car, costs 1.8-2.0 thousand rubles.
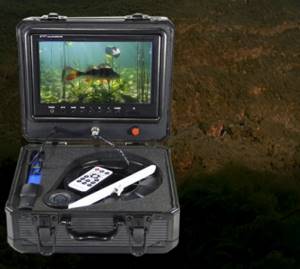
A module with special qualities is used only in a fishing chamber and costs twice as much. But you can choose one cheaper, but with parameters for complete lowering into the water area, preferably with infrared illumination. Better hybrid: milky LED plus digital for 2-3 thousand.

About the cable, underwater its length must be at least 20 meters, which means the signal will drop, and additional amplification is not necessary. This is suitable for a car TV running on 12 volts.
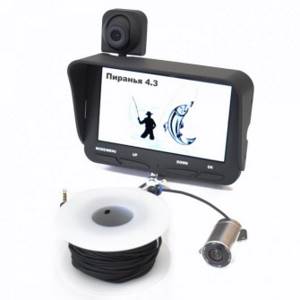
Add its cost, we get from 6 to 10 thousand. To protect the amplifier from moisture, you need an IP68 housing, but with additional sealing.
A battery for a five-hour shift with a capacity of about four thousand milliamperes/hour is better than lithium-ion, and not Chinese. Plus charging for a thousand. As a result, the amount runs up to ten thousand rubles.
Little secrets
In order for the camera to transmit a good and clear image, you need to secure it well and levelly. Also, be sure to ensure that it has a full battery charge.
To make it easier to immerse the camera in water, simply attach any strap or harness to it, thanks to which, depending on their length, you can lower the homemade camera to a greater or lesser depth.