What gear do we need?
- Fishing rod. Absolutely any “stick” in your arsenal will do. An ordinary float fishing rod, or an old, forgotten spinning rod. For convenience, we recommend using a telescope; it is more mobile during transportation. The length is not critical, but when fishing from a boat, short rods are preferable. If fishing is done from a bank overgrown with bushes and trees, a short rod is the best choice. A five-meter length is convenient when fishing from the shore, allowing you to cast the tackle a sufficient distance.
- Coil. Use any spool you have. An extra three thousand, a reel with a 1500 spool - any will do. Let us remind you that this is not feeder fishing at a distance of 80 meters from the shore. Believe me, in the villages they fish with the cheapest inertial reels and the catch is no less.
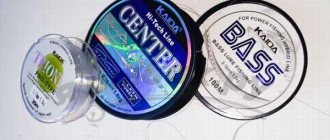
- Monofilament line. Take the golden mean of 0.25 mm. The diameter of the fishing line depends on the weight of the fish. It will withstand pike and will not scare away a wary predator with its size. If trophy specimens live in your reservoirs, hoping to catch them, set the diameter to 0.35.
- Leash. Be sure to equip the tackle with a leash. Will save you from losing your fish. A pike can easily bite through a fishing line without a leash. We recommend using the simplest, proven option: twisted steel string. If you have experience using other fluorocarbon, leader material or Kevlar leaders, feel free to use this one.
- Hook. Don't use singles. If the bait is small, double hooks are used. If the bait is large enough, use a tee. A size 10-12 tee used would be ideal.
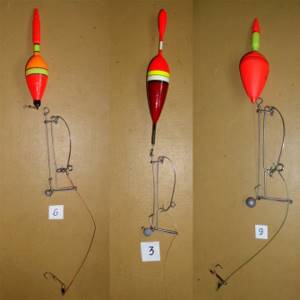
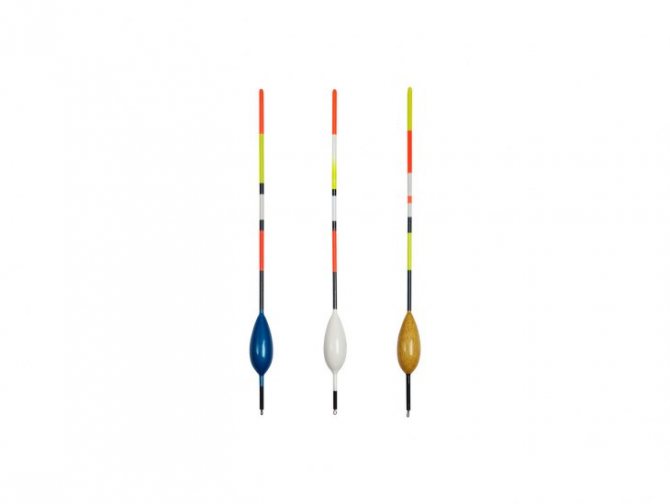
- Float. One of the most important components when rigging. The float should be attached using a sliding method. Set 6-15 g, depending on whether you are fishing in still water or in a current; whether you are fishing in a fast, moderate or slow current. More current means more load capacity of the float.
- Cargo. Float tackle is not complete without a weight. Take the olive, choosing it from the place of fishing (previous point). The surest way to determine the weight of the weight is to put it at one-third the weight of the float.
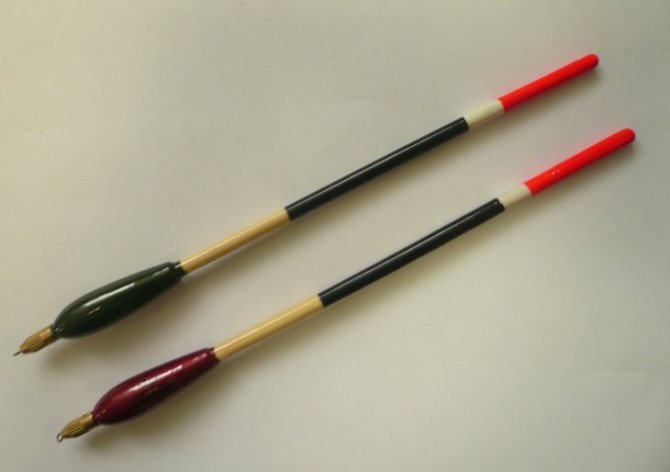
How to make a feather float
The feather version of a fishing alarm is one of the oldest ways to provide a fishing rod with a float. For the product you need to get feathers from the wings of a large waterfowl. Most often, domestic geese and ducks become reliable suppliers of these products, but wild ones will not be an exception.
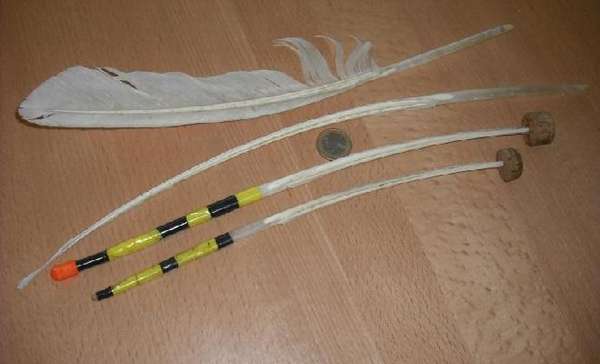
You can make a float from a goose feather, taking into account the painting operation, in about one hour. A large fly feather of a goose is cleaned of the fan and side fluff, leaving only the shaft and quill for use, which will be the body of the future signaling device.
Important! The fan is in no way torn off by hand, but is cut with a razor or a sharp knife against its direction of growth. Otherwise, the hole in the hollow eye will fill with water, and the product will completely lose its buoyancy.
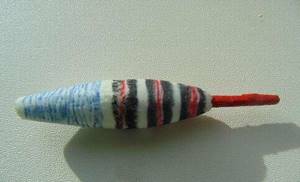
After trimming the fluff, its smallest fibers are removed with fire by running a lit match or lighter along the length of the feather. Next, the workpiece is painted from the thick end with bright paint, which will clearly stand out in the water; scarlet and light green colors best satisfy this requirement. As a rule, the product itself, the length of which usually remains in sizes from 12 to 15 cm, is painted exactly in half, leaving the lower part in a natural white color scheme.
Now, the almost finished product remains to be equipped with two nipple rubber rings for fastening to the fishing line, weighed to determine the exact weight, to carry out marking, setting a number on the body of the accessory, which will help you navigate easier when making further loading during installation.
What are the different ways to attach live bait?
Through the gills.
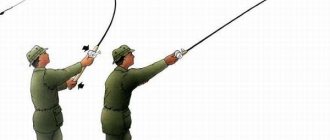
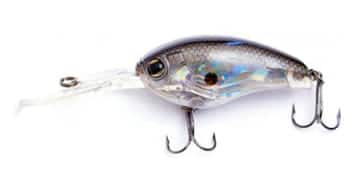
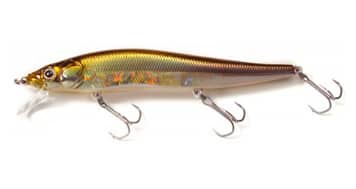
It is considered the most reliable method when fishing for pike due to its reliability. Provides an extremely high percentage of hook during an attack. It’s done like this: the leash is threaded through the gills and pulled out of the fish’s mouth. A double is attached to the leash and the line is pulled until the entire hook is hidden in the mouth of the baitfish. It is important that the two stings stick out from the bottom of the mouth, like small fangs (see photo). Wobblers that catch 100%:
Shimano FX
More details
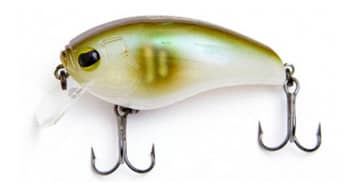
Shimano FX
More details
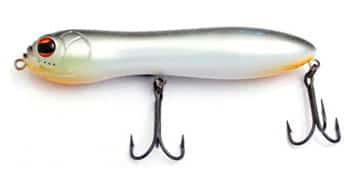
Shimano FX
More details
Shimano FX
More details
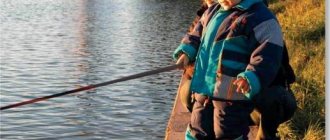
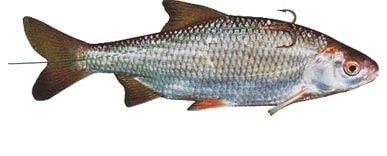
Behind the back under the fin or behind the lip.
Extremely simple methods. One hook is threaded through the upper lip with the tip facing up. Or with one sting under the upper fin, while the second one simply remains nearby. The last fairly universal method, which allows the fish to remain alive and active for a long time, we recommend using it in still water (it gives the bait additional realism). The bead as in the photo does not need to be hung. This is done to increase the chances of the fish staying on the hook for a long time.
Under the skin.
This is a rather complicated method that requires skill from the fisherman. The leash is attached to a needle, threaded through the base of the baitfish’s tail, under the scales, and brought out near the beginning of the dorsal fin (visually shown in the photo). It is considered an effective method with great results. Practice and you will definitely be able to do it right.
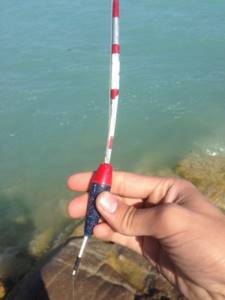
How to make a float from foam plastic
This type of manufacturing is more labor-intensive and requires skill in handling and compliance with safety precautions when working with an electric drill. Before you start making a foam float, a rectangular blank is cut out of a piece of material using a knife, which is threaded along the central axis onto a wooden toothpick and attached to the chuck of an electric drill. Next, the drill is used as a lathe, clamping its body in a vice and turning on the chuck in automatic mode. Using a belt of sanding paper attached to a rotating piece of polystyrene foam, the desired shape of the alarm body in terms of diameter and configuration is formed. Grinding of the foam blank material occurs due to an increase in the pressing force of the abrasive material or a change in the number of the stone fraction on the sandpaper.
Important! For final polishing, use paper with as little abrasive as possible, bringing the foam planes to a smooth, pore-free surface.
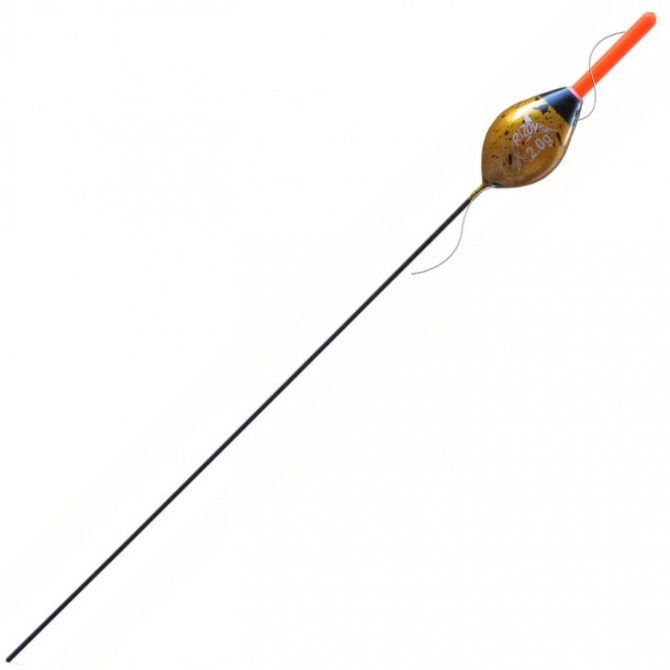
Having turned the required shape, the workpiece is removed from the mounting wooden axis and, using waterproof glue, an antenna and keel are glued from pre-selected material options, which can be either wood or plastic tubes of various diameters. In particular, using a plastic tube as an antenna, you can make a luminous float by inserting a chemical firefly into the hole of the tube from above, which helps to control the equipment in the dark.
All that remains is to reduce the diameters of the tube and the firefly into a suitable backlash-free interface. The very foam body of the alarm is painted in different colors, exactly along the border of the maximum diameter, the upper part is covered with catchy paint, and the lower part is painted in tones that do not arouse the suspicion of fish. To fasten the float to the fishing line, you can use either nipple rings along the diameters of the antenna and keel of the alarm, or by placing a special wire fastening loop in the body of the accessory.
To do this, a thin wire, 0.5 mm in diameter, is twisted, leaving a ring at one end, and at the other end of the wire, the ends twisted into a braid at a length of at least 5 mm. The twist is glued into foam plastic into the upper part of the alarm, soaking everything with the same moisture-resistant glue.
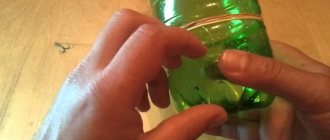
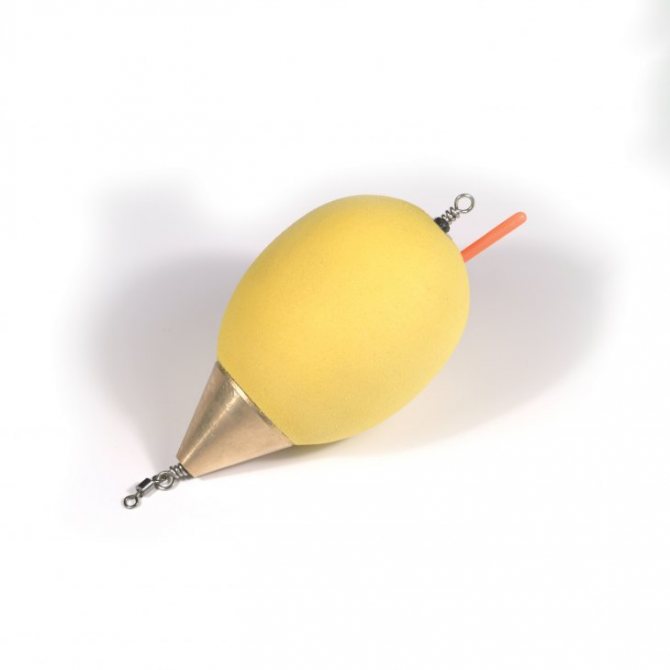
Homemade water-filling float from a container for shoe covers
A fairly sensitive float with the ability to change its mass can be made from a container for shoe covers, having previously selected a twist-up box of the desired color in order to subsequently eliminate the operation of painting the product. A winding ring is mounted at the bottom of the container to secure the structure to the fishing line. This can be done either with an awl or with a small-diameter drill. A hole is drilled in the upper part of the container to match the diameter of the antenna.
Important! After installing the fastening ring and antenna, the holes are hermetically sealed with glue or silicone, preventing spontaneous accumulation of water inside the container.
All that remains is to paint the antenna in a bright color and directly on the reservoir by collecting water or installing a lead weight, achieve the signaling load required for the fishing conditions.
Polystyrene foam is a great option for creating a float
A foam float is most often made by hand. This species is considered the most famous among fishing enthusiasts. Unlike other homemade products, it is quite easy to make. A minimum of material is required for its production.
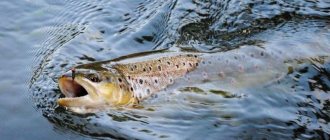
Thanks to its special sensitivity, it is easy to determine from the float whether a fish has bitten. As a rule, such a fishing device is used for catching perch or pike.
It will be useful for you to know how to make a float with your own hands. Let's note the necessary tools for work:
- high-quality foam;
- kernel;
- nipple;
- sanding paper;
- colorful base of not bright tones with increased water resistance.
Read here Fluorocarbon fishing line - choice and practical tips for use. Pros, cons and nuances of use (130 photos)
«>
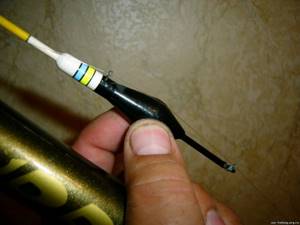
First of all, you should prepare the product. We cut an oval shape from a piece of foam plastic, then sand it with sanding paper to obtain an attractive shape.
Next, you need to make a small hole in the center of the workpiece. We thread a thin stick through it and place a nipple on top. Below you can watch a video of making a foam float with your own hands.
At your discretion, you can cover the homemade product with your chosen colorful shade, or use regular nail polish.
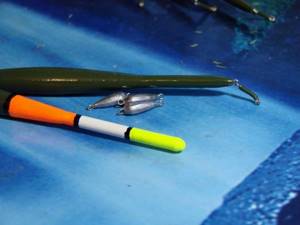
When painting, you should refrain from using bright colors, as they can scare the fish. Mostly blue or red colors are used. The upper part of the float is painted with it.
The bottom of the product, which is under water, is painted dark. After complete drying, the float is secured to the gear.